
Commercial & Residential Experts
Serving All of Southern California Since 1956
Gallery Details Batch 3
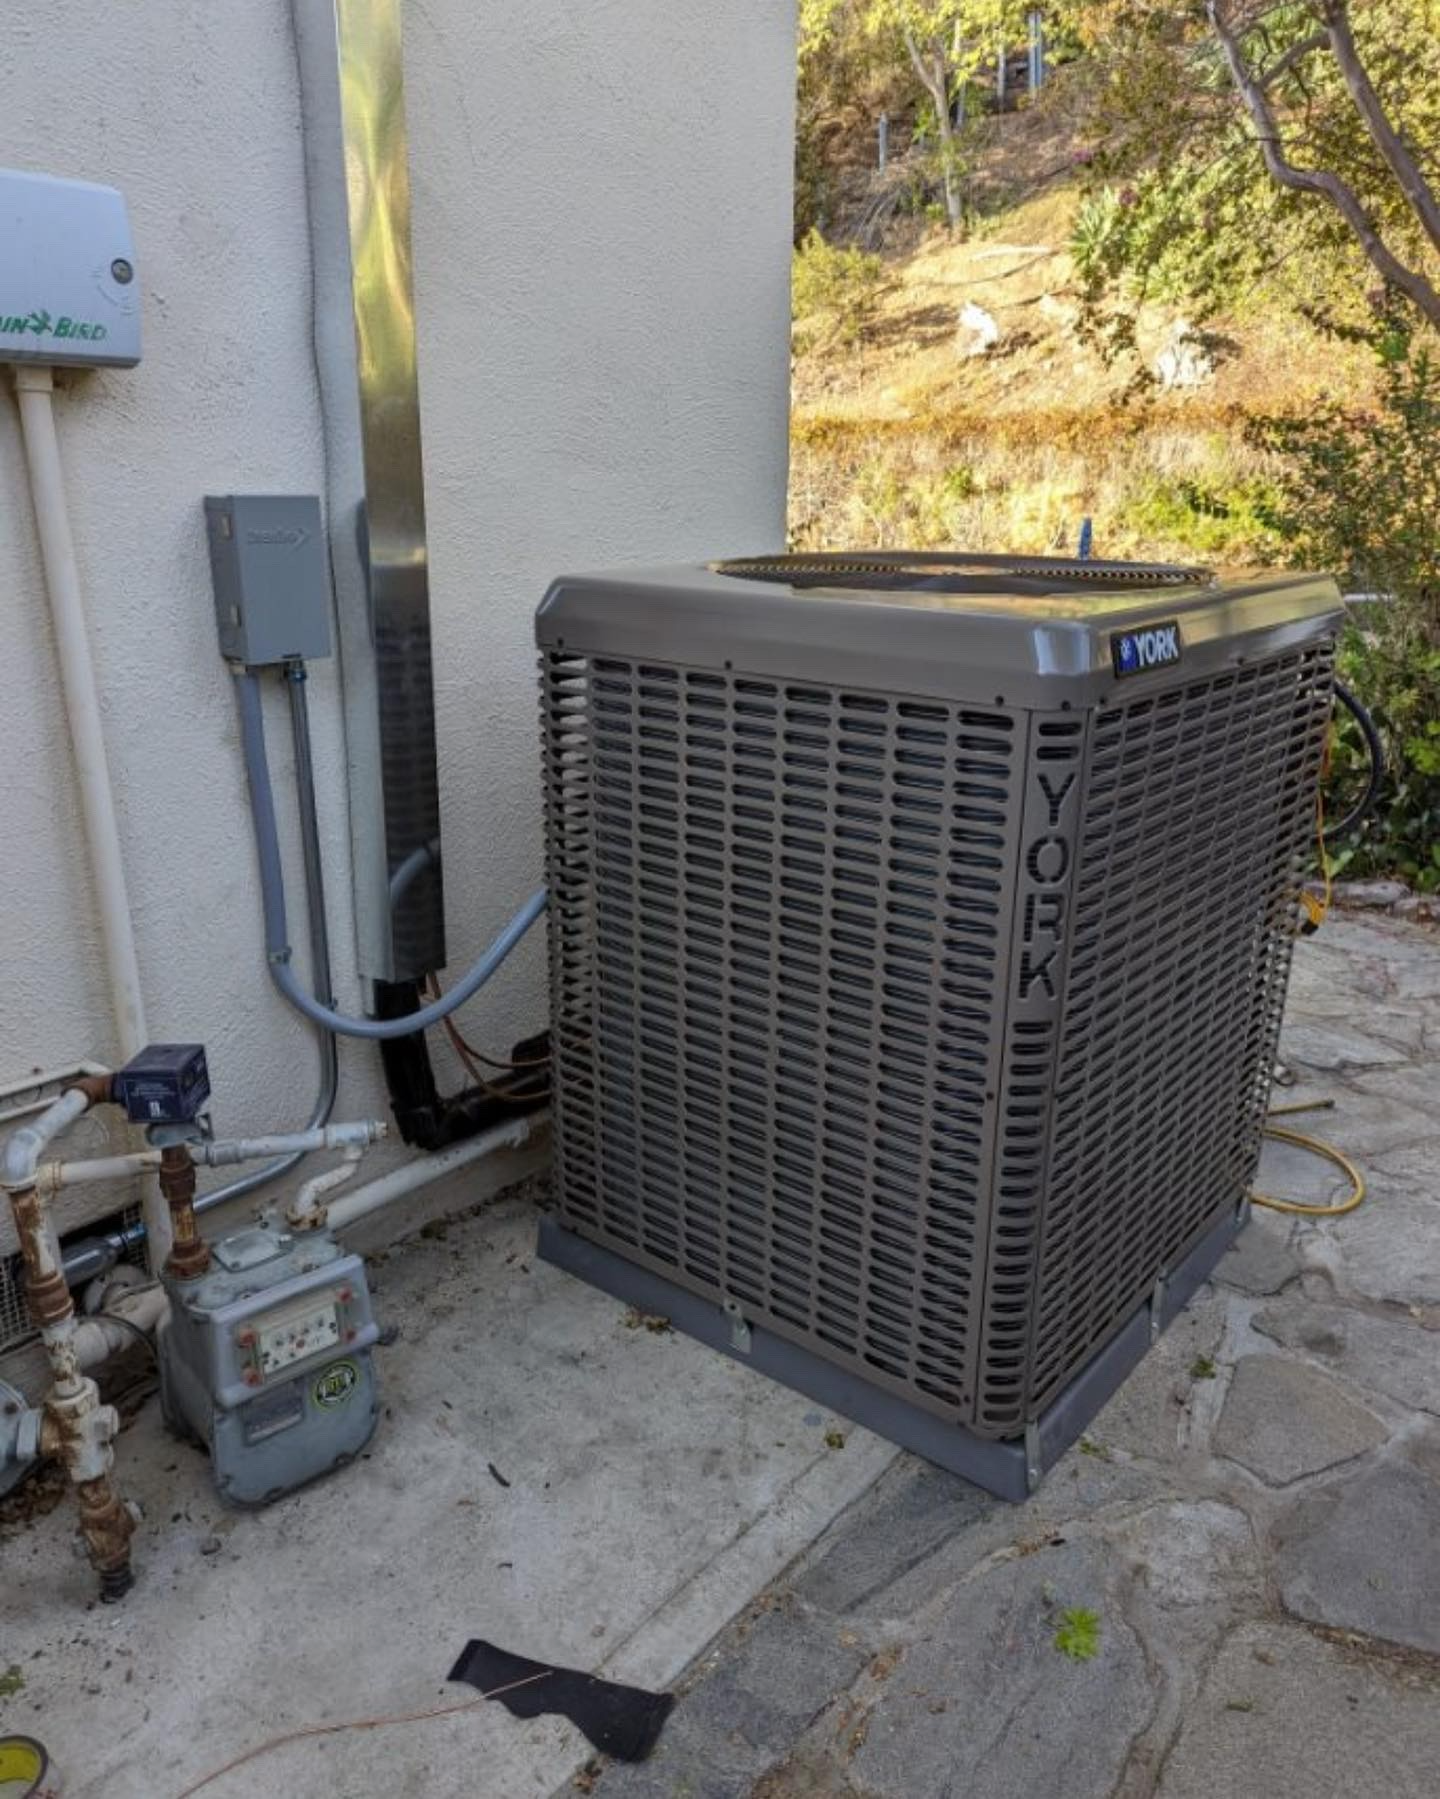
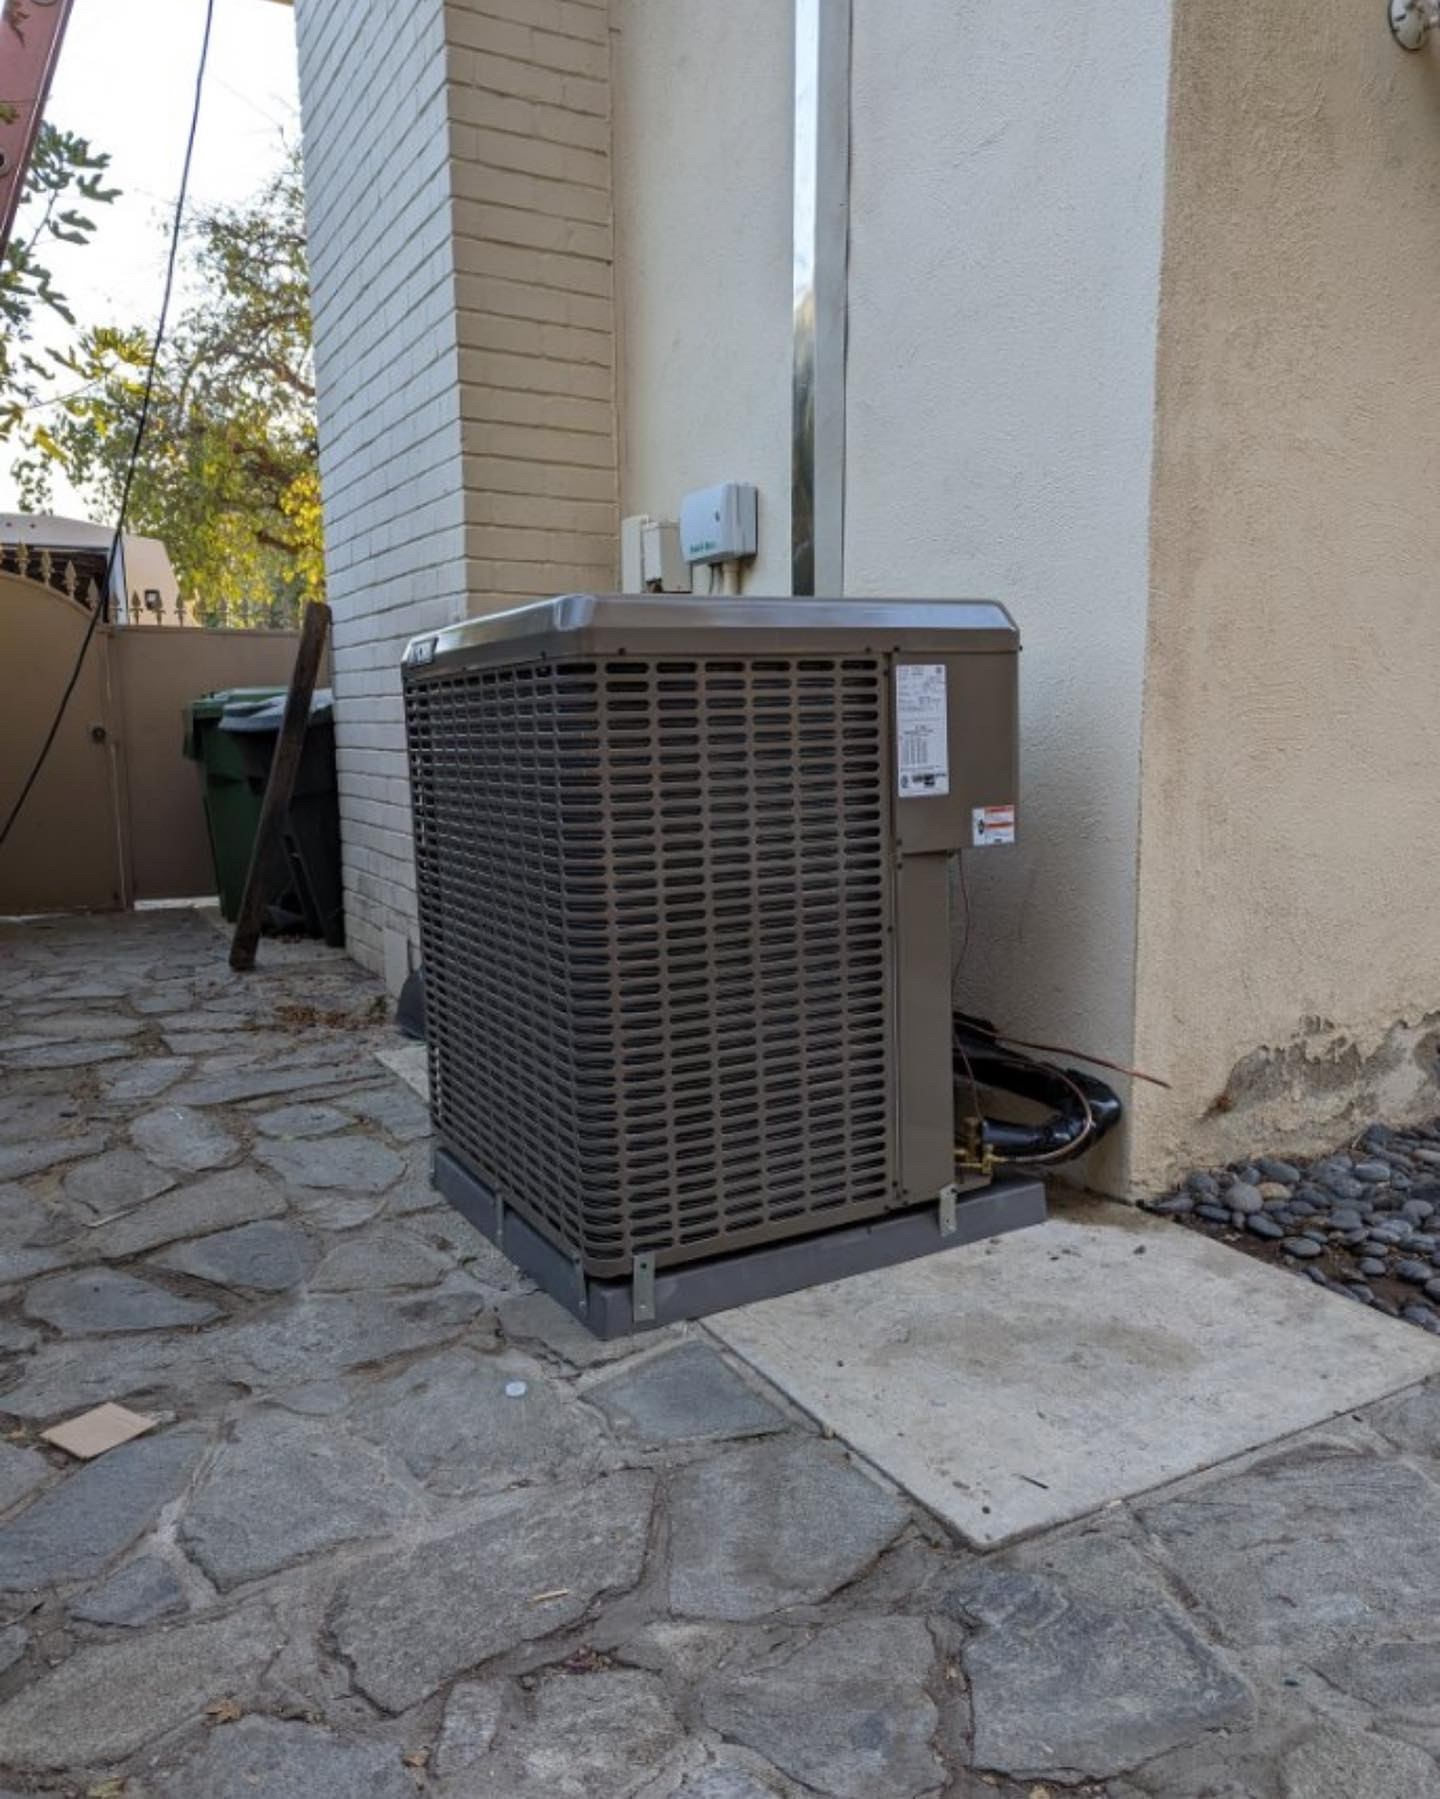
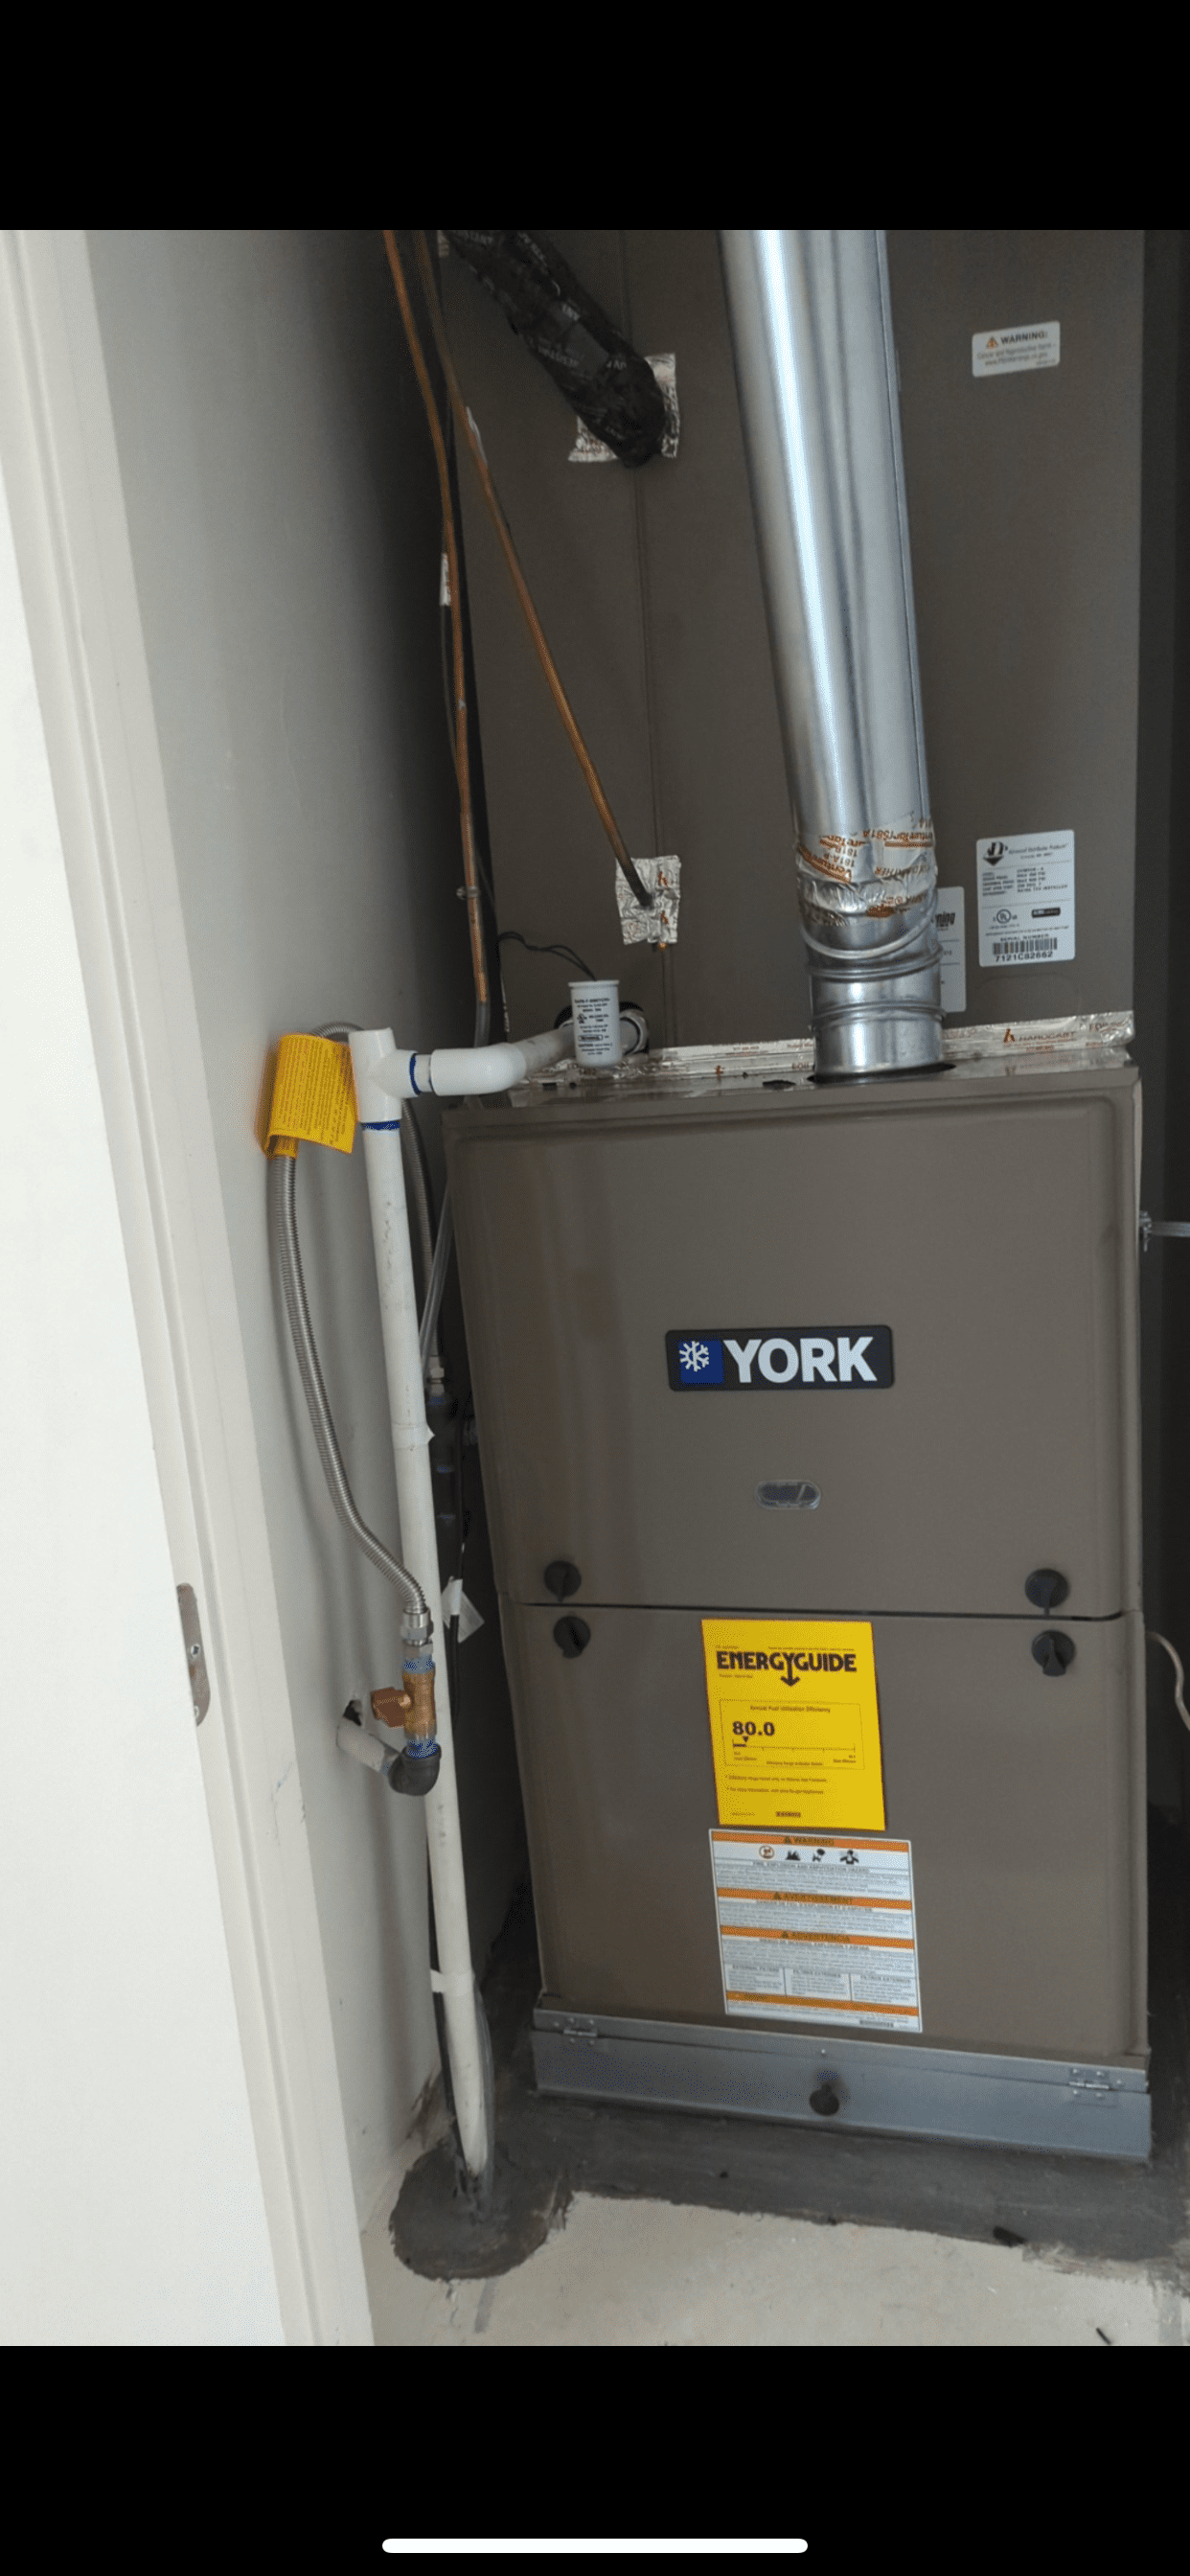
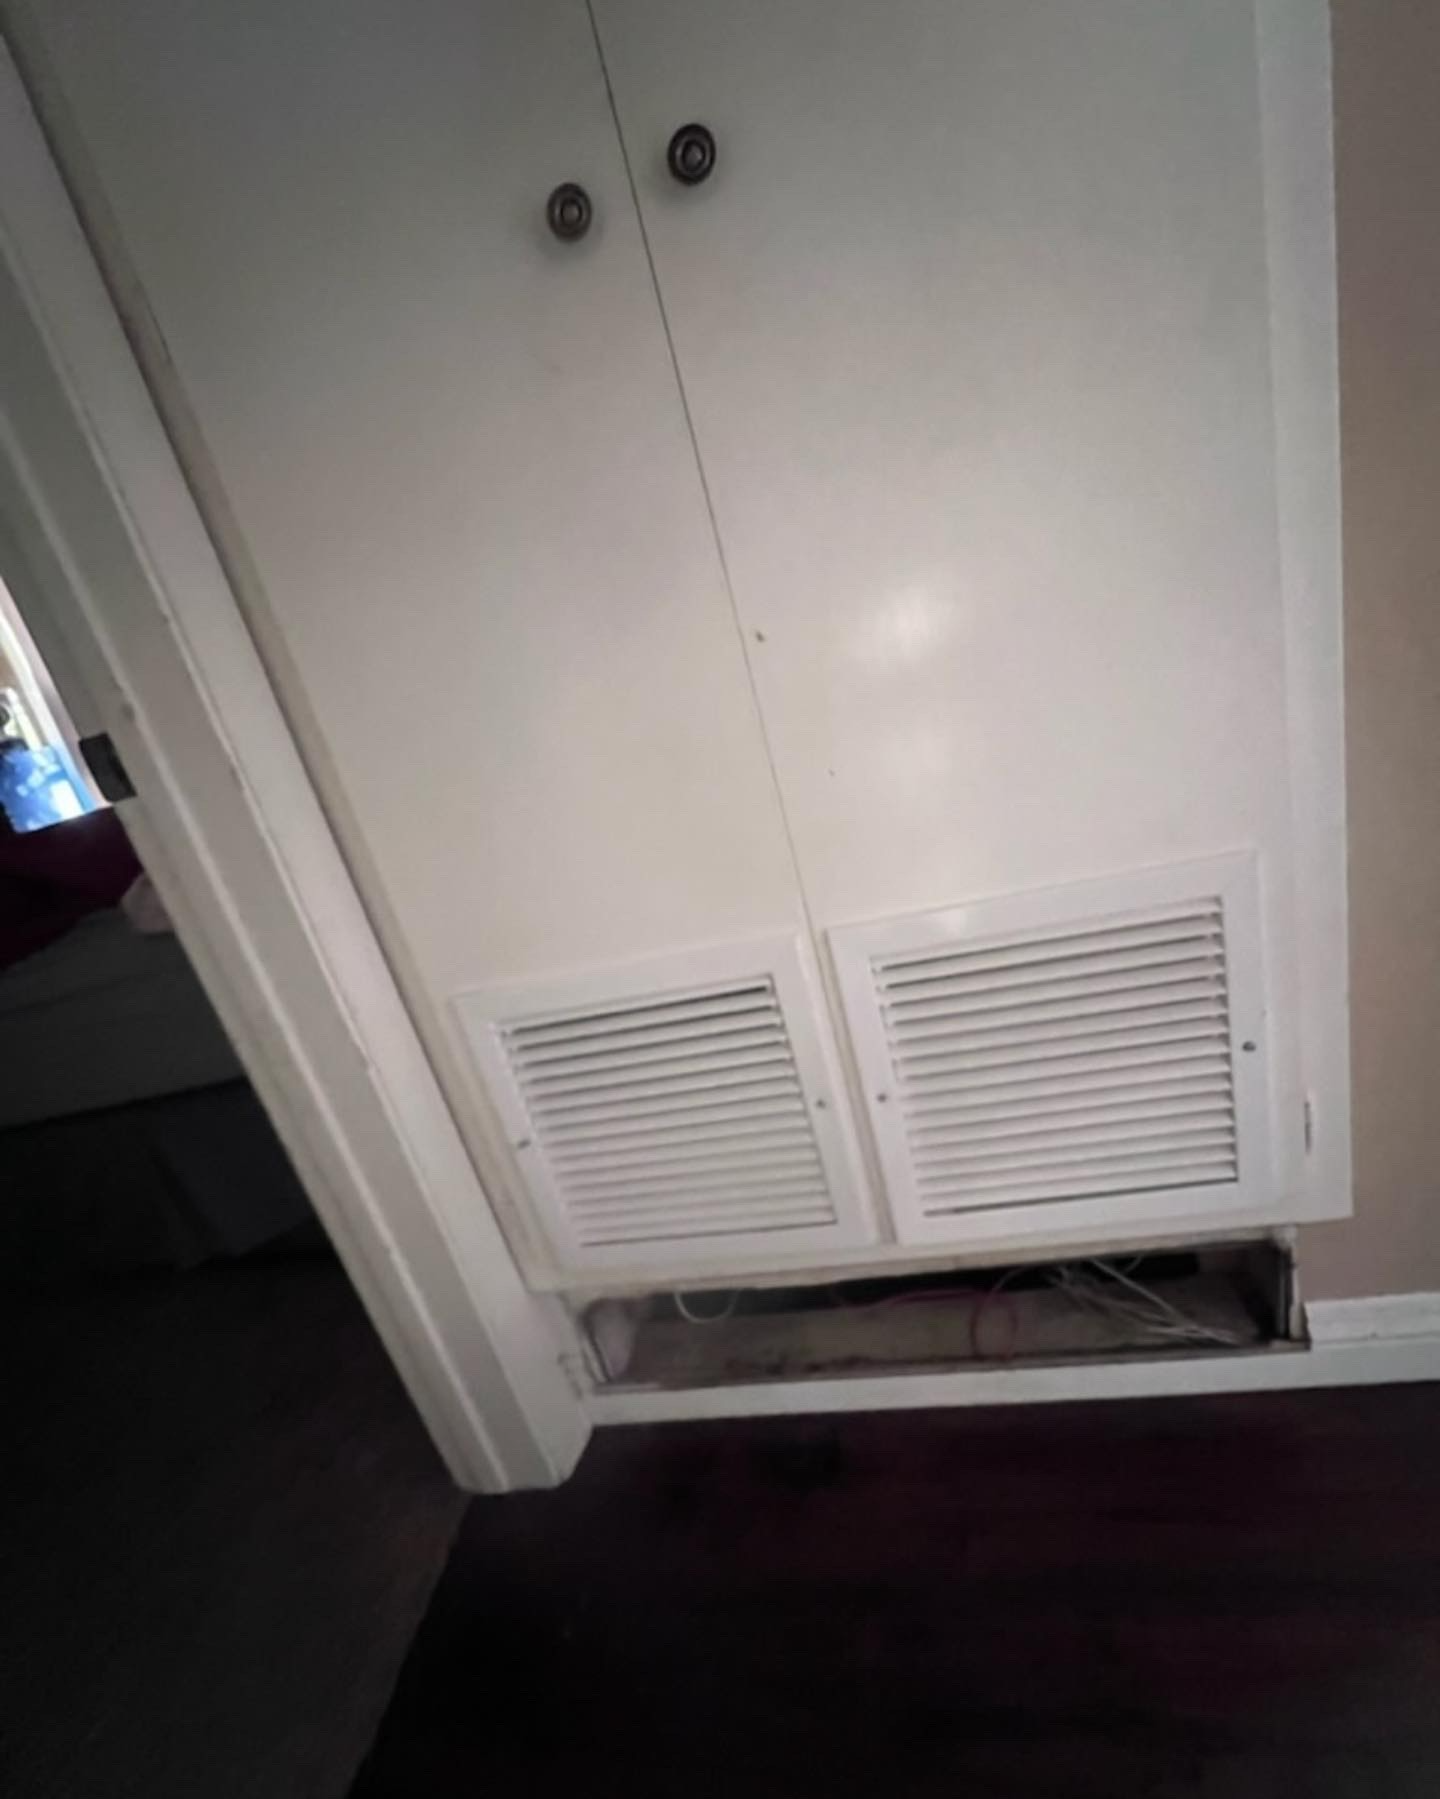
Before and After: Location 2
Installation work, before and after photos.
Click on one of the thumbnails to see a larger version...


View more
Ready To Get Started?
Contact Us


We fix it right the first time!
3 Preventative Maintenance Plans
TO ENSURE YOUR AIR CONDITIONER WON'T BREAK DOWN WHEN YOU NEED IT.
- Up to 25% off in Discounts
- Diagnostic Fee can be as low as $19.95
- 2 home visits a year


GreenLeaf services all makes and models!
Serving All of Southern California
Cerritos, CA City of Industry, CA Diamond Bar, CA Glendale, CA La Puente, CA Lakewood, CA Long Beach, CA Pasadena, CA Pomona, CA Torrance, CA Whittier, CA Duarte, CA Downey, CA La Habra, CA Norwalk, CA Santa Fe Springs, CA Covina, CA
LICENSED & CERTIFIED
License: CSLB C20 975600
© 2017–2024 Greenleaf Heating & Cooling.
All rights reserved.


Powered by Contractor HQ